
Current location: HOME > BLOGS > Industry Trends >
How to Install 2.5mm² Solar Cable for Small Solar Projects
time:2026-01-30 09:43:20 author:haoshizai Click:186
Selecting the right wiring is one of the most important steps in any solar setup. For small-scale installations—such as balcony solar panels, RV systems, backyard off-grid kits, and low-power residential arrays—the 2.5mm² Solar Cable remains a top choice due to its balance of conductivity, flexibility, and durability.
At the same time, working with a reliable manufacturer that offers stable production quality and bulk-supply capability ensures your project performs safely for years.
This guide explains how to install 2.5mm² solar cable correctly, safely, and efficiently—even if it’s your first time working with solar wiring.
Why 2.5mm² Solar Cable Is Ideal for Small Solar Systems
A 2.5mm² solar cable is commonly used in systems ranging from 100W to 1kW, depending on voltage and current requirements. It offers several advantages:
·Low resistance for short-distance runs
·High flexibility, making it easy to route in tight spaces
·UV-resistant insulation for outdoor use
·Temperature tolerance from −40°C to +90°C
Compatible with MC4 connectors and other standard solar hardware
Because small systems rarely require heavy current flow, 2.5mm² conductors provide a perfect balance between performance and cost.
Tools and Materials Needed Before Installation
Before installing your 2.5mm² solar cable, prepare the following:
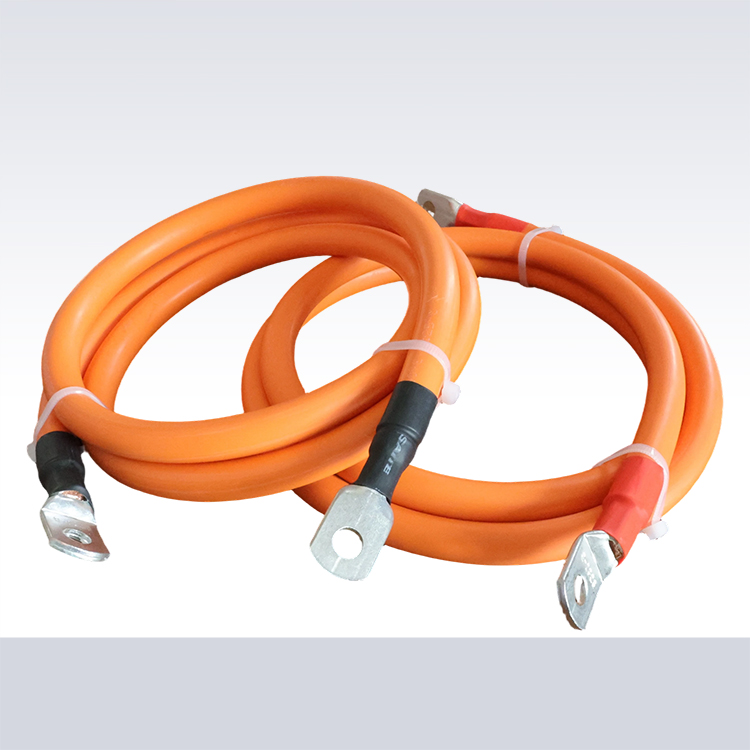
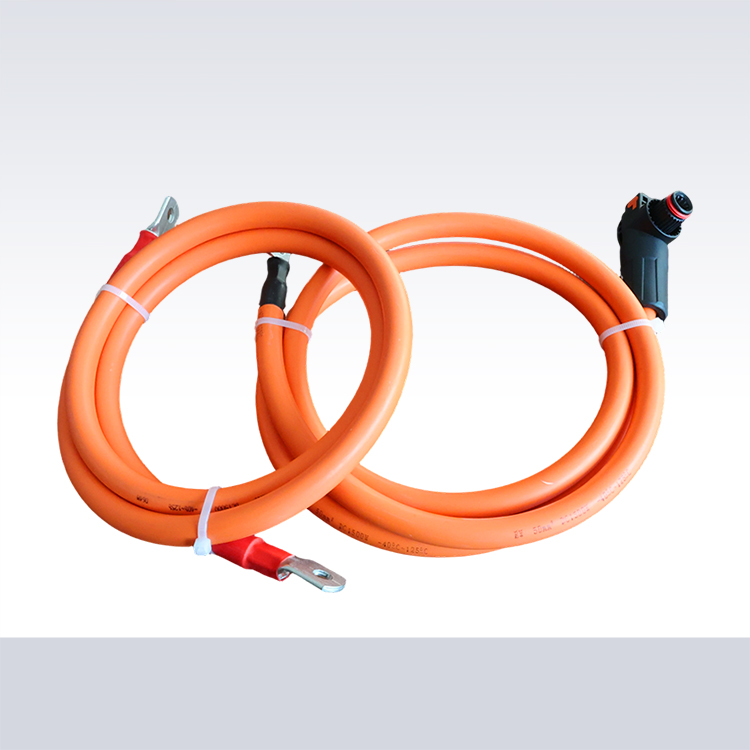
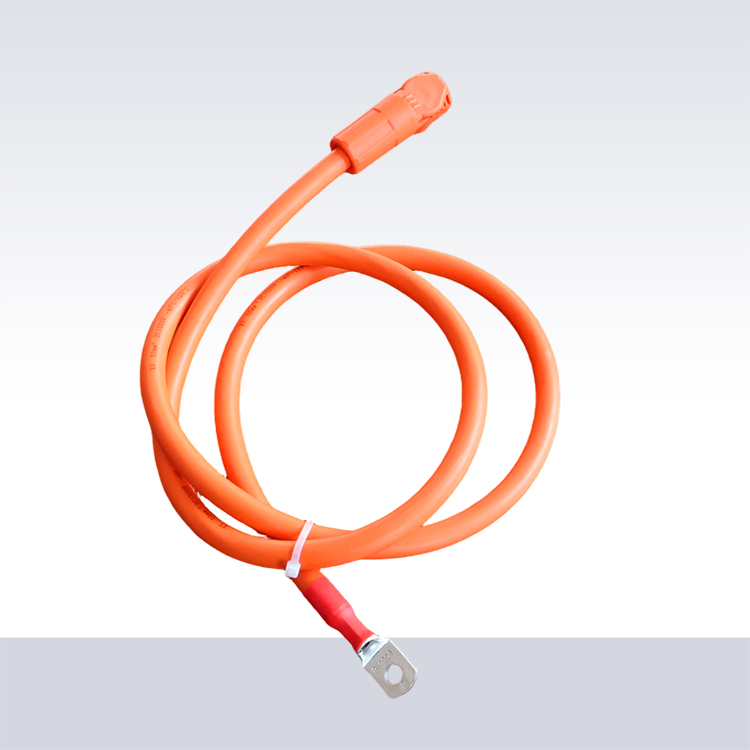
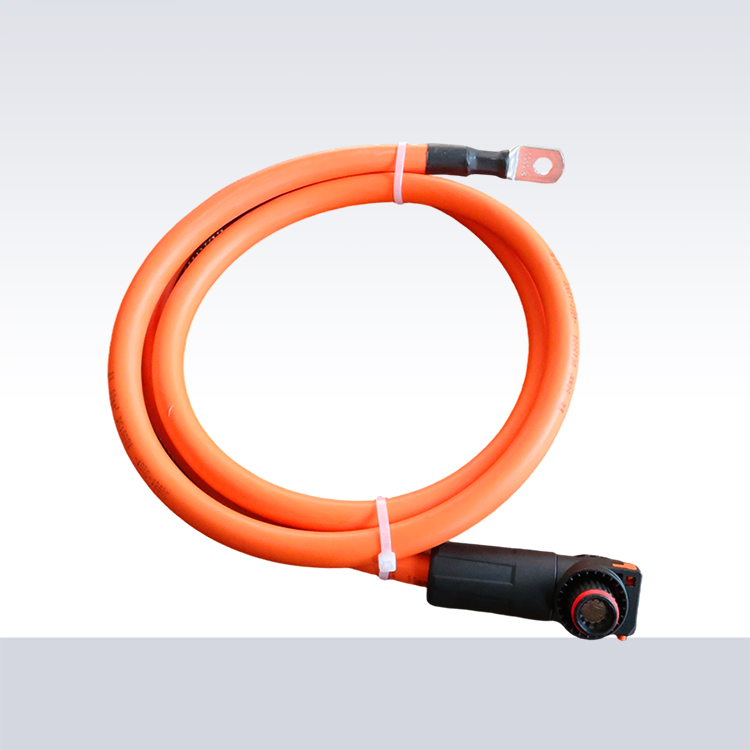
·2.5mm² solar cable (positive and negative)
·MC4 or compatible connectors
·Cable cutter and wire stripper
·Crimping tool for solar connectors
·Zip ties and cable clips
·Multimeter
·Heat-shrink tubing (optional)
·Protective gloves
Choosing high-quality cable and connectors ensures better conductivity and longer service life.
Step-By-Step Guide to Installing 2.5mm² Solar Cable
1. Measure Cable Length Accurately
Measure the distance from the solar panel to the charge controller or inverter.
Add an extra 10–15% to allow for:
·bends
·routing paths
·strain-relief loops
This prevents accidental tension or cable shortage during installation.
2. Cut and Strip the Cable Properly
Use a sharp cable cutter to make a clean cut.
Strip 6–7mm of insulation at the cable ends without damaging the copper strands.
A clean strip ensures a strong and low-resistance crimp.
3. Attach MC4 Connectors
Insert the stripped copper into the MC4 metal terminal and crimp it tightly using a solar-rated crimping tool.
Then:
·Insert the terminal into the MC4 housing
·Lock the connector until it clicks
Ensure one red cable and one black cable for polarity identification.
4. Connect the Cable to the Solar Panel
Most panels have a positive (+) and negative (–) MC4 port.
Connect each end of the 2.5mm² solar cable to the matching port.
Listen for a click to confirm full engagement.
5. Route the Cable Safely
Cable routing affects performance and safety. Follow these best practices:
·Keep cables off the ground
·Avoid sharp edges or metal surfaces
·Use UV-resistant cable clips
·Keep positive and negative cables close to minimize electromagnetic interference
·Avoid running solar cables parallel to AC wiring, which may cause noise interference
6. Connection to Charge Controller or Inverter
Once routed, terminate the other end using MC4 connectors or screw terminals depending on your equipment.
Important:
Always connect battery → charge controller → solar panels in the correct manufacturer-recommended sequence.
7. Test the System
Use a multimeter to check:
·Open-circuit voltage (Voc)
·Polarity
·Line continuity
If values match expectations, switch on the system.
Safety Tips for Long-Term Reliability
To maximize performance and prevent risk:
● Protect the cable from excessive heat
Do not run cables near exhaust outlets or heated metal surfaces.
● Keep slack to avoid tension
Cables under tension may fail prematurely.
● Inspect connectors annually
Outdoor connectors can loosen over time due to thermal expansion.
● Use proper fuse and breaker protection
This prevents overheating and accidental short circuits.
Why Choosing a Strong Manufacturer Matters
Not all 2.5mm² solar cables are equal.
The quality of copper, insulation, and production consistency significantly impacts safety and efficiency.
Look for a manufacturer that provides:
·High-purity tinned copper conductors
·Certifications such as TUV, IEC, or EN standards
·Stable production capacity for bulk supply
·Strict quality control
·UV- and ozone-resistant insulation materials
·Consistent conductor resistance values
A reliable producer ensures better conductivity, longer lifespan, and safer system operation—especially for outdoor installations subject to sun, moisture, and mechanical stress.
Final Thoughts
Installing a 2.5mm² Solar Cable for small solar projects is straightforward when you follow proper steps and use quality materials. Whether you're powering a garden light system, RV setup, small off-grid cabin, or balcony solar unit, correct cable installation is essential for efficient and stable performance.
For long-term reliability, always choose a professional manufacturer with solid production capability and bulk supply options. High-quality cable ensures your system remains safe, efficient, and stable for years to come.
References
Alam, M. J., Muttaqi, K. M., & Sutanto, D. (2013). A review of PV power system protection issues: Challenges and solutions. Renewable and Sustainable Energy Reviews, 28, 137–152.